I know that it has been a while, but I have been busy with the holidays and a number of projects, the first of which we will chronicle here today. Traci and I have been busy attempting to presto change-o a basement living room into a fully licensed, fully functioning tattoo parlor in which she can work, with mixed results. She received her license to operate the shop earlier today from the Vilas County Health Department, so I suppose that in the long run it was a successful renovation, however it didn't quite go as planned. The first order of business was to paint.
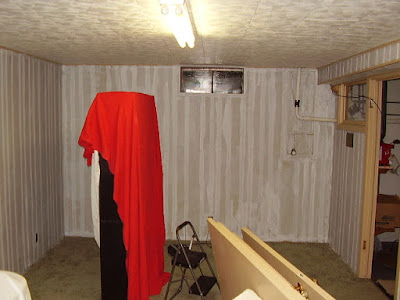
Part of the reason that we decided that we needed to paint the basement - hereafter to be called the shop - is because regulations require walls with a light surface, and the 70s or 80s era paneling that adorns all the walls of our home just don't fit the bill. Since we are operating on an extremely limited budget, we decided that the best course of action would be to paint the paneling. The room began looking like this:
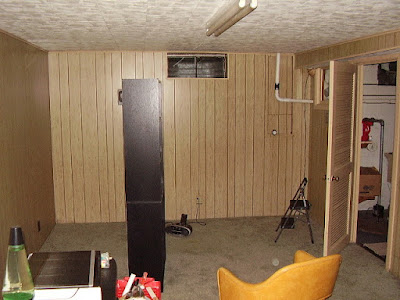 |
| The original basement...as brown as brown can be. Notice some furniture just scattered about. |
As you can see...it was not very exciting. Brown paneling with like a sandy pinkish-brown trim. I am not ever sure how to describe it, but it wouldn't work. The ceiling is actually just about white and the carpet is more green than it looks in this photo. But that is the space that we were working with, in addition to a little hallway that is off to the right of the photo. There were lots of holes in both the trim and the walls from removal of the trim where nails pulled through, or from pictures and other things being hung on the wall. So we filled those areas with wood putty and sanded them down.
 |
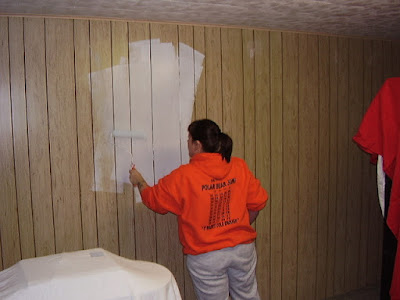
| That is me putting putty on the trim in the hallway. I need a bigger shirt or a judicial robe I guess. |
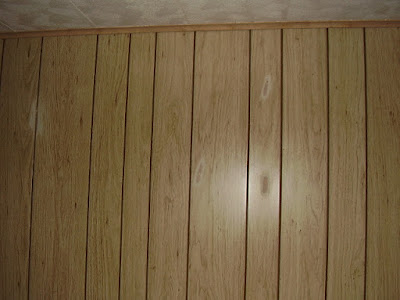 |
| Some of the repairs where the walls had been sanded. I know, it's a little hard to see. |
Now they make special paint that is made just for going on paneling, but it is expensive and can be hard to find. I can't attest to how it is supposed to work, because we didn't have it. What we did have was some Dutch Boy primer AND some Dutch Boy paint that was supposed to be self priming, which we thought would be enough. I briefly, on the night we were preparing to paint, considered sanding the paneling to rough it up, because the main problem with painting paneling is that it is completely smooth and shiny and there really isn't anything for the paint to adhere to all that well. But I decided to put my faith into the paint and off we went. The other problem with painting most paneling is those stupid grooves, because they are deep and they are textures so they soak up paint like it is going out of style.
 |
| Traci putting the first passes of the roller to the wall. We started in the middle because that is where she happened to be standing when we started. |
 |
| In the process of putting on the first coat of primer. |
 |
| Traci applying primer under the watchful eye of our job supervisor...Felix T. Cat. |
Traci went with the roller, while I was assigned the job of filling in all the cracks with the paintbrush, and for whatever reason we went in opposite directions. Tomorrow we will talk about the lessons I learned while painting and why that was a bad idea. But anyway, we made okay time and got most of the room painted with primer in one evening. As you can see from the middle photo above the paneling was really showing through the primer, with stripes where the grooves were, so we decided to put a second coat of primer on to try and even out the base, since we were using a light color for the finish coat. We also chose not to prime the trim since we thought the paint would adhere to that with no problem. Below is a picture of the room after the primer was done being put on.
 |
| First coat of primer. |
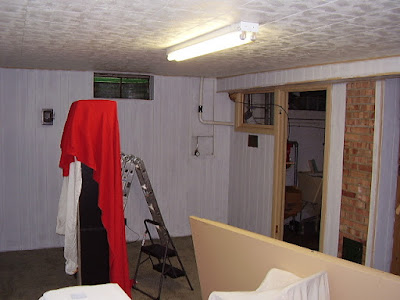 |
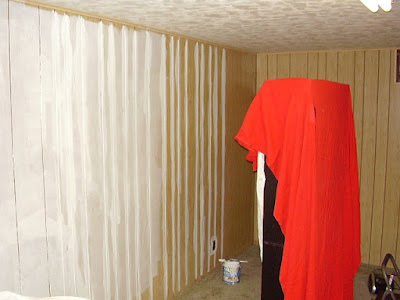
| Second coat of primer...it looks much more even. |
Now you may have notices a couple of peculiar things in the above photos. First, if you look very closely in the second photo you can see that we splashed lots of primer on the trim. We would continue that trend when we did the top coats because the trim color was a little darker so we thought it would cover it up with no problem...and we were right. You might also notice that there are no drop cloths on the floor to cover the carpet. That is because the carpet would be going when we did the next project so we weren't concerned about keeping it nice. To be honest I sort of regret that decision because someone would have taken that carpet off our hands if we had kept it nice.
Anyway, with two coats of primer on and a couple of days to dry we were ready to start with the top coat. We made up our minds early on that we would do two top coats to make it even and make it last. The color was a sort of blue-gray-ish off-white. I am sure there is a name for it that only females and interior decorators know, but I don't, so I choose to call it be the most hyphenated name of all time. Blue-gray-ish off-white. It is a light color though, and gives the room a much lighter feel.
 |
| Putting the first finish coat on the walls. You can see it looked good over the two coats of primer. We would eventually put a second coat of finish on as well. |
I am not going to bore you with a bunch of painting pictures, because you have all either a.) painted or b.) seen someone painting. Besides, it is pretty boring. But I will tell you that I also painted the ceiling, which sucked because it involved me standing below it craning my neck and arms upward for like three days. And the results were hard to see:
 |
| If you really try you can see the color change in the two photos, with the new color on the left and the old on the right. |
And I will show you a picture of the room once the top coat was on:
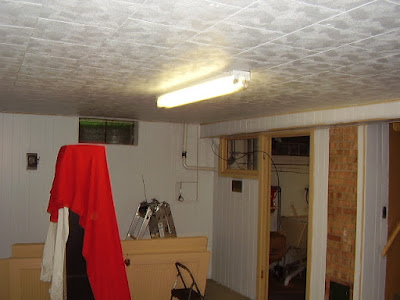 |
| The painting really changed the look of the room...didn't it? |
And it met with the approval of my supervisor.
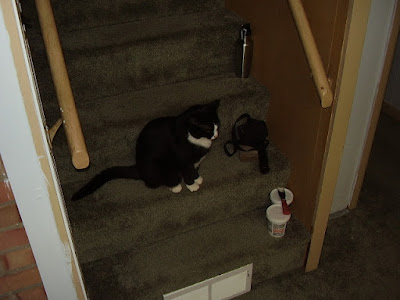 |
| I really think he was just there to huff the paint fumes. |
Anyway, it was onward to the trim. For the trim we had another blue-gray type color, but it was a little darker. I will warn you that in the pictures it is kind of hard to see the difference; it is much more noticeable in person. The painting of the trim took forever because there are so many trim pieces all around the room. This is because of the paneling, which necessitates trim on every corner, whereas with drywall they can just mud it nice. The painting of two coats on the trim went pretty much like the other painting did, just with a lot more attention to not getting it on the rest of the walls. It also included painting all the doors, which we had taken off their hinges or tracks with the exception of the infamous
pocket door. There were two sliding closet doors, one louvered door, one side of the bedroom door, and one side of the pocket door.
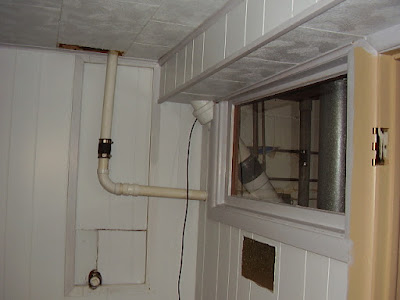 |
| Painting the trim without primer. Notice the subtle difference between walls and trim colors. |
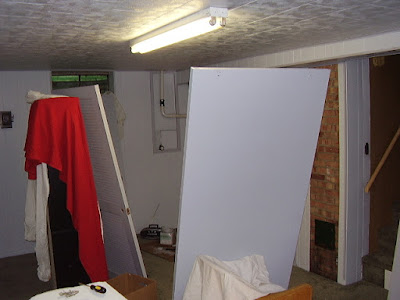 |
| The doors sucked up a ton of paint, and the louvered door (leaning against red cloth) was especially difficult. |
Painting the trim actually took a long time. It was two coats, much of it was up high, and there was a lot of it. But in the end the paint job looked okay.
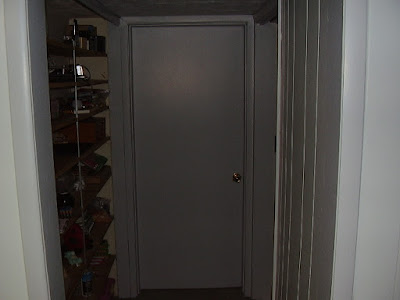 |
| We left the closet doors off because we knew we would be tiling the floor soon. They would normally be covering the shelves at the left of the picture in the hallway. |
Except it didn't quite look okay. I wasn't happy. Now I know that you can't see it in the pictures, and that the average person won't see it, and that I have an overly critical eye towards the paint job because I am me and I spent a lot of time down in the shop staring at it. But that is not the point. I can honestly say that I could have done better. And should have done better. There are a lot of spots where I got some trim on the walls, like right around the edges. There are also a lot of areas where there are drips on the walls from uneven application of paint. You can also see stripes along the grooves in the right light at the right angle if you are really looking for it. There are areas on the trim where the old cantaloupe yellow is showing through the two coats of paint I put on. And, to top it off, there are areas on the doors and walls where the paint has scraped or rubbed off and you can see the paint or paneling underneath. And we will talk more about those problems and how I would have stopped them in the next post. But most people won't ever see or notice any of those blemishes, which is good. So I guess you could say it looks hooker good - good from 20 feet but a lot scarier close up. HAHAHAHA! But seriously, it is done and it is serviceable, and it is time to move on to the floor. But that is for a later time. First we have to talk about what we have done and how we would have done it differently. Until then, we hope all is well. See you next time!


No comments:
Post a Comment